
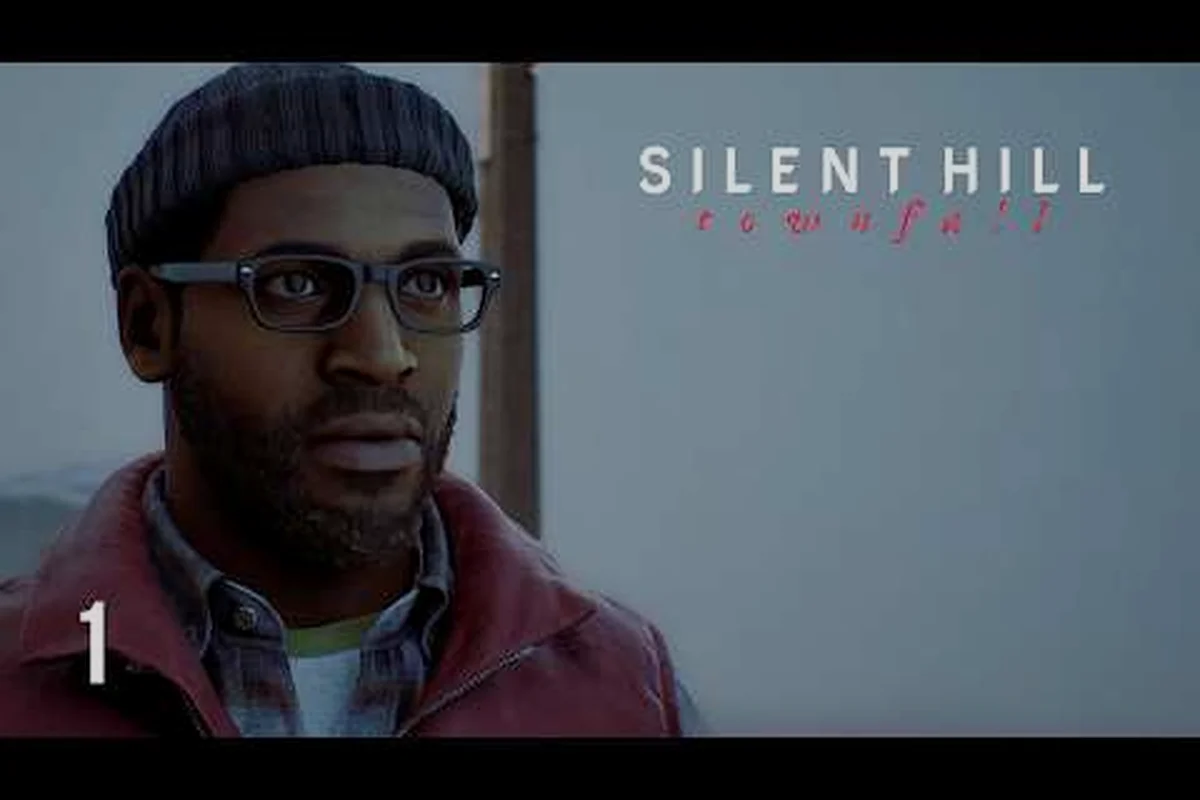
Surviving a first night in St. Amelia comes down to reading what the creatures are about to do before they do it. SILENT HILL: Townfall enemy behavior is built around three readable signals — silhouette, sound, and sight cone — and the game rewards players who learn to interpret them instead of swinging a plank at every shadow. The CRTV pocket television surfaces those signals early, which means a careful first hour teaches you patterns that the rest of the run will lean on. This guide walks through every enemy archetype on the island, the distraction tools that buy you a clean path, the exact window for a stealth takedown, and the accessibility options that let you tune the camera to your comfort level.
How Enemies Detect Simon in St. Amelia
The first thing to internalize is that detection in Townfall is layered, not binary. A creature on the far end of an alley can already be in an alert state because of a thrown bottle you forgot about, even though the silhouette on your CRTV looks relaxed. Three detection channels feed every monster's awareness meter, and learning to manage all three is what separates a clean run from a chase scene.
Sight, Sound, and the Fog Layer
The sight cone is the most visible channel, but it is also the narrowest. Most early enemies have a forward-facing arc of roughly 60 degrees and a short perception range that the fog actually reduces. Walk perpendicular to a patrolling creature, stay near a wall, and the fog will visually clip their line of sight faster than crouch-sprinting will. According to the official PlayStation Store listing, monster encounters are designed to "favor selective confrontation and stealth over constant fighting," which lines up with how tight those sight cones feel in practice.
Sound is the channel that punishes impatience. Sprinting on hard pavement, firing the late-game revolver, and smashing a breakable melee weapon on a follow-through all emit sound events that propagate through fog and walls. A creature two rooms away will pivot toward the noise and enter an investigating state, which is great when you want to slip past a patrol — and terrible when you forgot you sprinted across a wooden floor.
The fog layer is the third channel and the easiest to miss. Heavy fog patches reduce sight range for both Simon and the enemy. Walking through a thick band first lets you approach a creature from inside its own reduced perception range, which is why so many players report that "stupid" patrols mysteriously fail to spot them. The fog is not decoration; it is a stealth tool you route through, not around.
Alert States and What They Trigger
Every enemy cycles through four states: Patrol, Investigate, Alert, and Pursue. The transition between Investigate and Alert is the most forgiving window in the game. Once a creature is fully Alert, your only realistic options are break line of sight, throw a distraction, or commit to combat. The CRTV shows you the state of nearby creatures as a colored ring on their silhouette, which makes this layer much easier to learn than it sounds.
| State | Trigger | Player Response | Stealth Window |
|---|---|---|---|
| Patrol | Default behavior | Route around or time a pass | Wide |
| Investigate | Heard noise or saw brief silhouette | Freeze, break line of sight | Medium (3-4 seconds) |
| Alert | Held sight for 1.5s+ | Hide, throw distraction, or commit | Narrow (1 second) |
| Pursue | Simon spotted at close range | Break line of sight, do NOT fight in the open | None — must escape first |
If you want a deeper breakdown of the underlying movement rules, the SILENT HILL: Townfall beginner guide covers the stamina and sight basics that this table builds on.
The Enemy Roster and Their Readable Patterns
St. Amelia hosts roughly a dozen distinct creature archetypes, but they all share the same detection skeleton. Once you can read the skeleton, individual variations become flavor. Here is how the most common archetypes break down and which ones reward a stealth takedown over loud combat.
Standard Grunts and Ax-Head Creatures
The most common early enemy is the ax-head creature — a tumorous silhouette with a blade-like protrusion where a face should be. It patrols short loops, has a short perception range, and reacts to sound at medium range. Its attack is a two-swing combo that staggers Simon heavily on the second hit, so getting hit at all is a resource loss.
A second archetype, the syringe-wounded nurse-type, behaves almost identically but is faster and has a longer Investigate window. The Escapist's review noted that enemies are "tumorous creatures with axe-like heads or syringes in wounds," which matches what the CRTV silhouette shows in the first three chapters. Treat both as the same threat class for routing purposes: you can predict their patrol path, you can lure them with a thrown bottle, and you can land a stealth takedown from behind without ever triggering Alert.
Heavy Enemies and Late-Game Hunters
Heavier enemies appear from roughly Chapter 4 onward. They have wider sight cones, longer pursue timers, and a one-hit stagger that does not create a real opening. The late-game revolver hits hard against them, but as community testing has shown, the reload sound pulls every nearby creature toward your position, which is a fast way to chain two heavy encounters into one Pursue state. For these targets, the answer is almost always route around, not route through.
Environmental Hazards Masquerading as Enemies
The fog itself behaves like a slow enemy. Certain stretches of the Northern St. Amelia cliffs and the Hospital district feature visibility drops that effectively act as enemy sight cones. The CRTV cannot see through the thickest fog, so you are routing blind in those sections. The community-recommended habit is to hug the right wall in those corridors and rely on the audio cues of patrolling creatures rather than trying to spot them visually.
Stealth Takedown Windows and Distraction Tools
A successful stealth takedown in Townfall is a timing puzzle, not a button combo. You need the creature in Patrol, within roughly 1.5 meters, on Simon's back, and not already reacting to another sound event. When all four conditions line up, a single contextual prompt clears the encounter without a single bullet. When one of them is off, the takedown animation stutters and the creature snaps into Alert.
The Distraction Toolkit
You have three practical distraction tools, and each one has a different cost profile. Bottles and bricks are unlimited in feel but finite in inventory — they are also the only tools that reliably interrupt an Investigate state. The CRTV can broadcast a brief signal pulse that confuses nearby creatures for two seconds, but that pulse also tells anything in the adjacent room that you are using the device. The third tool is environmental: a kicked trash can or a slammed door is a free distraction that costs nothing but the audio footprint of your own footstep after the kick.
| Distraction | Range | Cost | Best Use |
|---|---|---|---|
| Thrown bottle | Medium (10-15m) | Inventory slot | Luring a single patrol off a chokepoint |
| Brick or debris | Short (5-8m) | Inventory slot | Tight corridors with one target |
| CRTV signal pulse | Short (5m radius) | One battery cell | Buying a 2-second window in a multi-enemy room |
| Environmental kick | Point-blank | Free | Pulling a single creature one room over |
The key insight from the SILENT HILL: Townfall stealth guide is that you should treat the thrown bottle as a "patience tax." It costs a slot, but the slot you save by avoiding a fight usually contains a healing item you would have burned.
When a Stealth Takedown Beats Loud Combat
A stealth takedown is the right call when the encounter is in a contained room with one or two enemies, no environmental hazard, and no nearby patrol that would hear the takedown audio. It is the wrong call in open courtyards with multiple patrols converging. The takedown animation takes about 2.5 seconds, which is too long if a second creature is on the same patrol loop.
If you have to fight loud, the combat rules are strict: breakable melee weapons lose damage fast, blocking is unreliable, and the late revolver reload sound pulls every creature in the next room. The GamingBolt review describes the toolkit as "a limited toolset of breakable melee weapons, a pistol and thrown bottles/bricks," which matches the design intent that stealth should be the default.
Accessibility Options and Camera Comfort Settings
Townfall ships with a deeper accessibility layer than most survival horror games, and the camera comfort options in particular change how readable enemy behavior feels. The default first-person camera is a shoulder-bracketed view that wobbles during sprint and after taking damage. For players who get motion sickness from heavy FOV shifts, there are real settings to tune.
Camera and Motion Settings That Matter
Three sliders do most of the work. Camera Shake reduces the screen displacement after taking a hit, which makes it easier to keep an enemy's silhouette in view during a fight. Motion Blur is the single biggest contributor to discomfort in fog-heavy sections, and turning it down to its lowest non-off setting actually improves your ability to spot patrol silhouettes. Field of View defaults to a wide 90, but stepping it down to 80 tightens the visible area and, counterintuitively, makes distant enemy detection easier because silhouettes are larger on screen.
Input and Remapping
The full remap layer covers every combat input including the contextual takedown prompt, dodge, and CRTV quick-tune. If you play on controller, the SILENT HILL: Townfall melee weapons guide walks through the recommended bindings for players who want the takedown prompt on a shoulder button instead of the default face-button position.
Distraction and Stealth Assistance
A small but important accessibility toggle is the High Contrast Enemy Silhouette option, which paints hostile creatures in a brighter outline when the CRTV is in scan mode. This is genuinely useful for players with low vision, and it also helps anyone playing on a smaller display or a handheld device. There is no built-in "auto-hide" or "auto-distract" option, which is the right design call — those would trivialize the stealth layer the rest of the game is built on.
Building a Per-Encounter Playbook
Reading an encounter as a sequence of decisions, not a single reaction, is what carries you through the late-game Hospital and Lighthouse chapters. The playbook below is what experienced players run in their head every time they round a corner. It is not a list of rules; it is a thinking order.
The Four-Second Pre-Engagement Check
Before you commit to any path through a room, run this check in roughly four seconds. First, can you see any silhouette on the CRTV? Second, is the nearest creature in Patrol or already in Investigate? Third, is there a patrol loop or a fixed-position enemy, and which one is closer to the exit you actually need? Fourth, do you have at least one distraction tool in the inventory, or are you routing with environmental kicks only?
If the answer to question two is "Investigate," wait. An Investigate creature will return to Patrol within roughly four seconds if no further sound event lands. If the answer to question four is "no distraction tool and no environmental kick available," that is a strong signal to take the long way around the room.
Takedown vs. Bypass vs. Fight
For every encounter, you have three tactical options and each one has a different resource cost. A takedown costs an inventory slot's worth of positioning risk and 2.5 seconds of vulnerability. A bypass costs time and the small risk of being cornered mid-route. A fight costs healing, melee durability, and a high chance of pulling a second creature.
| Option | Resource Cost | Risk | Best When |
|---|---|---|---|
| Stealth takedown | 1 distraction or 1 good angle | Mid if a second patrol is near | Contained room, 1-2 enemies, exit clear |
| Bypass | Time | Low if route is mapped | Open area, multiple patrols, no distraction tools |
| Loud fight | Healing + melee durability | High — pulls nearby patrols | Cornered, no exit, or scripted boss trigger |
The trick is that "bypass" is the option most players under-use. A clean 20-second walk around a room is almost always cheaper than a 15-second fight that burns a heal and a melee weapon.
Putting It All Together on a First Run
On a first run, the goal is not to clear every encounter perfectly — it is to learn the detection skeleton well enough that your second run feels mechanical. Spend the first two chapters routing around creatures whenever you can, because every avoided fight is a free lesson in sight cone angles and patrol timing. By the time you reach the Hospital, the patterns will feel predictable rather than threatening.
A Recommended First-Run Rhythm
Start each chapter by clearing the CRTV scan before you move into any new room. If a creature is in Patrol, plan your route. If something is already in Investigate, wait or use an environmental kick. Save loud combat for scripted encounters where the room is sealed and the fight is unavoidable. Treat the late-game revolver as a panic tool, not a primary weapon, because every reload sound is a beacon to the next room.
Common Failure Points and How to Avoid Them
The single most common failure on a first run is sprinting through fog patches because the player assumes visibility is symmetric. It is not. The fog clips enemy sight cones before it clips yours, which means slow walking through a thick band is often safer than sprinting past it. The second most common failure is fighting near a wall that funnels sound into the next room. The third is committing to a stealth takedown when a second patrol is one corner away. The SILENT HILL: Townfall stealth takedown section of the cast breakdown also touches on how the deuteragonist Zoe sections change the detection rules in subtle ways during the late game.
If you want a complete list of every chapter's encounter profile, the SILENT HILL: Townfall achievement list on PS5 includes stealth-related trophies that map cleanly to the playbook above and give you a concrete checklist to chase on a second run.
Frequently Asked Questions
Does enemy behavior change between difficulty settings in Townfall?
Yes, on Hard and above, creatures have wider sight cones, longer Investigate timers, and faster Pursue speeds. Patrol routes stay identical, which means the routes you memorize on Normal still work — you just have less margin for error when a creature is already half-alerted. Sound events also propagate slightly farther on Hard, so sprinting on hard pavement becomes a much larger risk.
Can I lose a stealth takedown if I am spotted mid-animation?
You can, and it is one of the most punishing states in the game. The takedown animation has a roughly 0.5-second window near the end where an interrupting hit will stagger Simon and put the creature into full Alert. If you hear a second patrol approaching during the animation, abort the input — better to take a hit and retreat than to commit to a takedown that turns into a two-on-one fight.
What is the best early-game distraction to stock up on?
Bottles, by a wide margin. They are the most common throwable, they have a medium range that reaches across most early rooms, and they break on impact with a distinct sound that creatures react to even through a wall. Bricks are useful but heavier and rarer; save them for corridors where the shorter range is a feature, not a limitation.
How do the accessibility options affect trophy progress?
Every accessibility setting can be toggled freely without invalidating trophies, including the High Contrast Enemy Silhouette, reduced camera shake, and the full remap layer. The only setting that does affect certain trophies is the difficulty itself — the no-death trophy requires you to finish on Hard or above, so plan your accessibility layer before you commit to that run.
Is the CRTV signal pulse a real distraction or just a scanning tool?
It is a real distraction, but a short one. The pulse confuses nearby creatures for roughly two seconds and emits a brief sound event that anything outside the immediate radius will hear. Use it only when you need to slip past a tight cluster of two or three creatures in the same room, and never use it as your primary tool — the battery cost adds up faster than the inventory space you save.